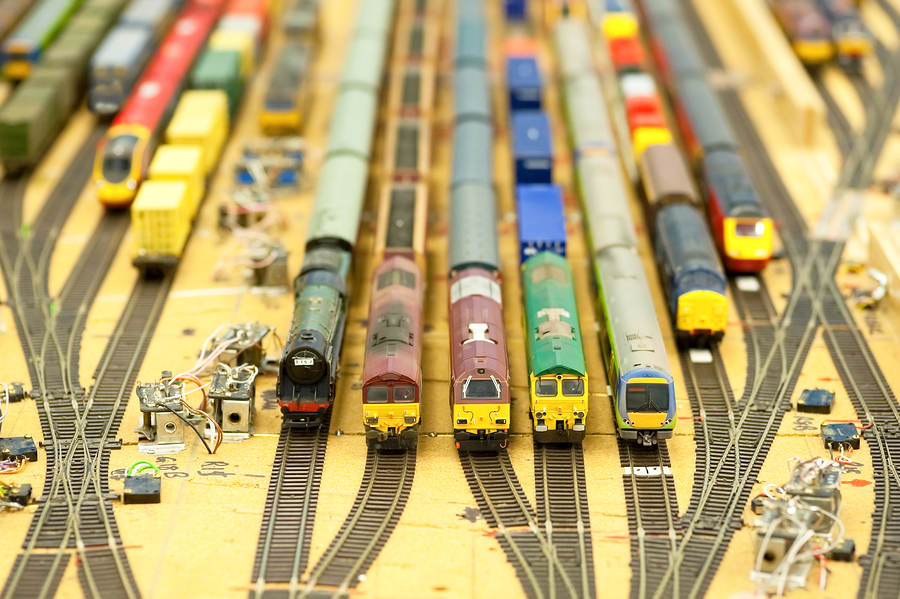
How to Build Model Railways: Design & Layout
Building a model railway has long been a hobby reserved for the true tinkerer.
This fun and fascinating hobby takes planning, creativity and a little bit of technical know-how to build up models make them special, and are challenging personal projects as well as fun group activities to do with family and friends.
Model railways range in size and scale from small projects to large ones that stretch several hundred square feet, and many of the area’s keenest enthusiasts will spend years – even decades – designing their models.
Whether you’re a beginner or a seasoned model railway enthusiast, getting involved is easy and before long you can master the basics and bring your imagination to life on the track.
Designing your railway
Before you can begin purchasing track and building your railroad you’ll need to spend some time thinking about design and track work.
Decide where you plan to build your model railway and what you intend to use it for – for example, if you are building a model railway for your grandchildren, you will want to spend less time on fine details and more time ensuring the construction can withstand playtime.
Your design should take several other important factors into account; make sure stations are well positioned and any tunnels are bridges are wide enough to fit your model train.
Some trains will be too fast or bulky to operate smoothly – or safely – on a tight radius so carefully consider turns on your track.
The early stages are the best time to do your research, and online there’s a wealth of information that can help you out with everything from layout design to the tools you’ll need to get the job done.
As you get started, websites like New Railway Modellers and World’s Greatest Hobby will help you answer any questions you might be having.
Building your baseboard
Once you’ve established the general design you’d like to use you need to build your baseboard.
Remember that the board you use will determine how big and intricate you can make your model, so the bigger the better.
It’s also worth noting that your baseboard will get heavy quickly if you’re building a permanent model.
Many enthusiasts choose an attic space for their models – wherever you decide to build yours, make sure there are plugs so you can power your railway when it’s ready to go.
Once your baseboard is in place you can lay your ballast underlay or scatter – this will help set the scene for your railroad and also make sure it’s safe when your electric train is running.
Understanding trackwork
Your track will be the backbone of your model railway so take some time to really focus on this step.
Most track is made from brass, zinc-coated steel, steel, or nickel – some conduct electricity faster than others but also require more maintenance so ask for advice from your local model shop when choosing.
The two most popular manufacturers of track are PECO and Hornby, and typically model railway enthusiasts stick to a particular brand for ease of assembly.
There are also a number of great resources online to help you as you begin laying your track, like the National Model Railroad Association’s guide to basic trackwork.
Designing the scenery
After you have laid and tested your track the final step is to add the finishing touches on your railway. For many modellers, the technical side of building is the most exciting part – but decorating can still be worthwhile and rewarding.
Get creative and look for ways you can build up landscapes and interesting scenes around the track by adding trees, as well as human and animal figurines for those final finishing touches.
Rachel - Silversurfers Assistant Editor
Latest posts by Rachel - Silversurfers Assistant Editor (see all)
- Religious Christmas Carols Playlist - December 17, 2024
- Classic Christmas family films - December 16, 2024
- Find craft inspiration from the best Martha Stewart videos - December 2, 2024
- Tips for an eco-friendly Christmas - November 23, 2024
- Get Ready for Stir-up Sunday - November 22, 2024


