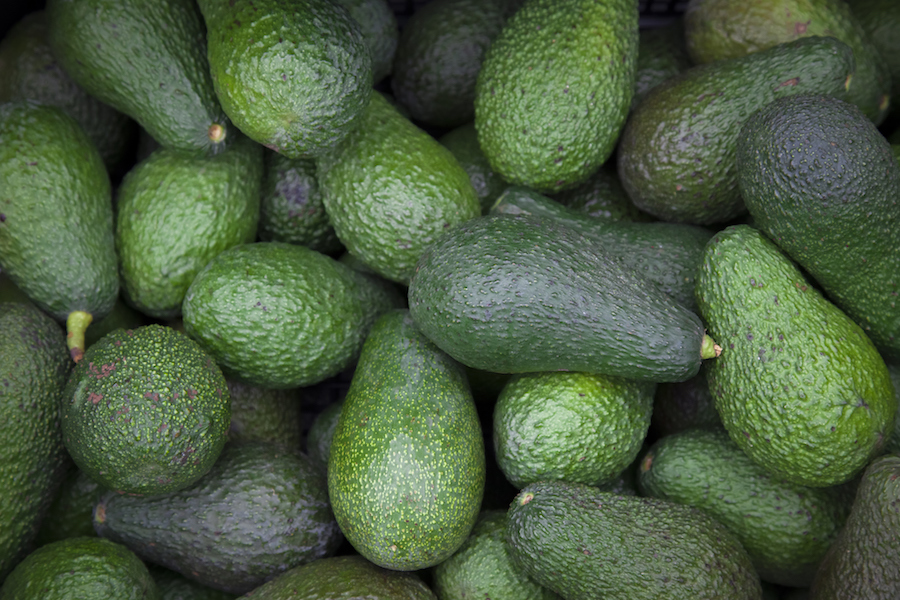
National Avocado Day: This is how to grow an avocado at home
It’s National Avocado day! Yep, perfect for breakfast, lunch or dinner (and maybe a few times in between), avocado is the green that keeps on giving. Whether it’s on toast, as guacamole or even in a chocolate mousse, there’s a reason the avocado hype has dominated for the past couple of years.
Despite arguments that they’re high in calories and fat, avocados actually have more potassium than bananas, and are high in monounsaturated fatty acids which can lower the risk of heart disease and cholesterol levels.
A treat for both veggies and meat lovers alike, they’re most often exported from southern California and Mexico, but here are some simple steps to growing your own avocado plant at home…
Step 1:
Start by cutting an avocado in half and carefully removing the stone or pit. Rinse the pit with cool water to remove any excess avocado flesh and blot dry with a paper towel. Avoid removing the brown skin on the pit – this is the seed cover.
Step 2:
The “top” of the seed is the more pointed area where the seed will sprout and the “bottom” is the flatter surface where the roots will grow. Take four toothpicks and push them into the thickest width of the avocado pit. These toothpicks act as a scaffold, so the bottom half can rest in water.
Step 3:
Fill a clear glass three quarters full of water and carefully place the seed in the water. Only the bottom half of the seed should be submerged – adjust the water levels if needed. The glass should be narrow enough to hold the toothpicks in place, without the seed falling into the water. Set your glass on a windowsill that’s exposed to plenty of sunlight so photosynthesis can begin. A clear glass isn’t necessary, but it will be easier to see when the roots start to grow and when the water needs changing (which will be every week or so, to avoid the growth of mould, bacteria and fungus).
Step 4:
Now patience is key. Keep a close eye on your seed and you should start to see growth within two to eight weeks. Roots will hopefully begin to grow from the bottom and a stem will sprout from the top.
Step 5:
Once a stem has appeared and has grown to around 15cm (6in), cut back by half to encourage new growth. Once it has grown another 15cm, place in a pot of humus soil, or in a pot with compost, leaving the top half of the seed exposed. Remember to remove the toothpicks. You can also now pinch out the top two sets of leaves which will encourage growth in shoots from the side, which will help the plant develop more leaves. Repeat this process for every 15cm of growth.
Step 6:
Once again, place your seed in direct sunlight, and water enough so that the soil is constantly moist, but be careful not to water it too much. Yellowing leaves are a sign of over-watering, so if you do give the plant too much water, let it dry out for a couple of days.
And voila! You now have your very own avocado tree, however, avocado plants grown from seed can take up to 10 years to fruit, so don’t expect to be harvesting anything for some time…
The Press Association
Latest posts by The Press Association (see all)
- 5 new books to read this week - November 23, 2024
- 3 easy Mary Berry recipes to make this season - November 22, 2024
- In Pictures: Party stalwart kept New Labour in touch with traditional supporters - November 21, 2024
- 6 easy indoor exercises to try this winter – and why they are good for you - November 19, 2024
- Martin Clunes: I can’t afford to retire – I’ve got too many horses - November 19, 2024


