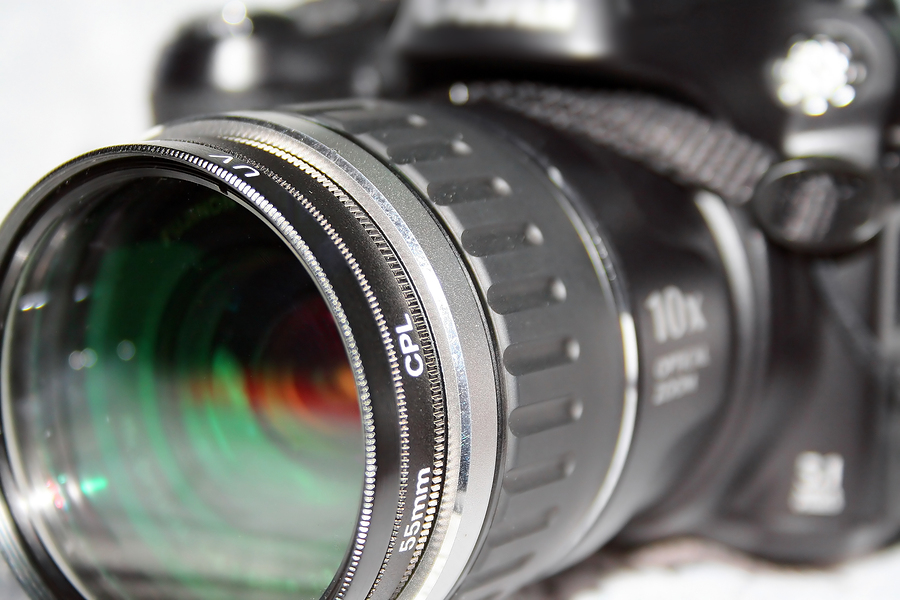
Try these camera techniques
You know the drill. Line everybody up behind the birthday cake, next to the Christmas tree, or in front of the seaside view, and then point and shoot.
It couldn’t be easier taking photos, could it? But how much effort do we really put into our snaps, and are we really pleased with the outcome?
Whether you only dig out your compact camera once in a while or you’re a budding photographer with a hi-tech SLR, we all make mistakes – and most of them are easy to overcome.
“Capturing good photos can depend as much on the eye of the photographer as the type of camera being used,” says Nick Vandome, author of Digital SLR Photography In Easy Steps.
“With a bit of patience and planning, anyone can capture stunning photos with either a compact or SLR camera.”
Follow our camera technique tips and tricks to take your shots from so-so to superb…
:: REDUCING RED-EYE
A fun night out with friends can quickly look like a convention of devils when red-eye has its wicked way. But it can be banished from your photos for good.
“Red-eye is caused by a camera’s flash reflecting on a subject’s retina when a photo is taken,” says Vandome.
“Most compact cameras and an increasing number of SLRs have a function for reducing this whereby the flash fires twice; once before the shot is taken and once for the actual shot.
“Although this can be effective for reducing red-eye, it can be disconcerting for the subject and lead to a slightly unnatural shot.”
So what’s the best solution? “If you have an SLR you can use an external flash unit to bounce the flash at an angle to the subject – for example, off a ceiling,” says Vandome.
“Otherwise, try taking the shot without flash and use a higher ISO number instead. This makes the camera’s image sensor more sensitive to light so that you can capture images in lower level lighting conditions.”
If all else fails, just edit your images. “Most good image-editing software, such as Photoshop Elements, has quick and effective tools for removing red-eye.”
:: FOCUS IS EVERYTHING
The image of your hotel resort might have looked great in your viewfinder, but when the picture is enlarged, it’s a blurry mess.
Don’t worry, just start thinking about contrast, says Vandome. “Autofocus on digital cameras is usually achieved by a beam of light bouncing off the subject, and the camera can then calculate the required distance,” he explains.
“For this to work effectively, there has to be a good contrast between the areas that the autofocus is calculating from, such as light and dark.
“If there is not enough contrast, then the autofocus may have problems. Always try to focus on an area that has reasonable contrast.”
It’s crucial to think about the type of shot you’re taking, and to hold the camera steady too. For example, a night-time photo might become blurry unless you use a tripod.
“For a shot that has a slow shutter speed (anything under 1/60th of a second) some form of support is desirable to avoid ‘camera shake’,” Vandome adds.
“Ideally, use a tripod but other alternatives include a small beanbag or leaning against something such as a door frame or a bench.
“One of the most common reasons for poorly-focused photos is that sufficient care has not been taken to make sure that autofocus has found a suitable lock.
“Always wait until the autofocus confirmation light appears in the viewfinder or LCD screen before you take the photo.”
:: GOOD COMPOSITION
We’ve all taken photos where we’ve accidentally cut off someone’s head, or missed out half of the classic scene we were hoping to snap.
“Always start by looking at a scene with a view to how you want the final image to appear,” advises Vandome. “A couple of minutes of preparation can result in hours of pleasure from the end photo.
“One excellent technique to follow is the Rule of Thirds,” he adds. “This is where you divide a scene up into an imaginary grid of nine segments (3×3). Instead of having the main subject bang in the middle of the shot, move it into one of the other segments – i.e. the bottom right, or top left.
“This will result in a much more interesting composition as other elements can also be included in other areas of the shot. “Try experimenting by including the main subject in a variety of different segments within the Rule of Thirds.”
:: PLAYING WITH THE LIGHT
“The best light for photography occurs an hour after sunrise and an hour before sunset,” says Vandome.
“This is known as the Golden Hour and produces a lovely rich, warm light that is very rewarding for photos of landscapes and landmarks particularly.
“Midday sunshine is not ideal because it can be too bright and harsh and does not offer enough contrast; the Golden Hour can also be used to create interesting shades and textures.”
We all know you’re not meant to take pictures directly into the sun. But if you’re dying to take a picture of your loved ones in front of a landmark and the sun’s right over it, there is a special trick for getting a great shot.
“For shots of people into the sun (i.e. they have their back to the sun) turn on the flash even though it is sunny (called fill-in flash),” says Vandome.
“This will lighten the subject’s face and so balance it with the bright background. If the flash is not used, the subject will be in shadow.
“In general, if you do not like certain lighting conditions it can pay great dividends to wait until they change, or come back on another day if possible.”
:: UNUSUAL PORTRAITS
When taking portrait pictures, it can be as much about your subject as how you wield your camera. “The most important thing is to make the subject feel relaxed,” says Vandome.
“One simple way to do this is to get them to stand sideways and then move their head to face you. This creates a more natural, relaxed pose.
“Also, ask them to close their eyes and look down, then look up and open their eyes on the count of three. This will make them feel less self-conscious.”
Vandome adds: “Always look out for background objects that may inadvertently spoil the shot, such as flower pots or lamp-posts coming out of the subject’s head, or signs behind them.
“For SLR users, try to blur the background to produce a softer portrait. Do this with a shallow depth of field (use a low f-number such as f4) so that only the subject is in focus. This can also be done by moving the subject further away from the background.
“Another good option for portraits is to take a candid shot when the subject is not really aware of the camera.
“Use a high level of zoom for this so that you can be a reasonable distance away from the subject.”
:: USING MACRO AND ZOOM
For those who have mastered the more basic techniques, there are some great effects you can create by playing with the settings on your camera and using your zoom.
“Macro lenses (SLR) and settings (compact) can focus to a very close distance and so are excellent for capturing the detail in objects such as flowers and insects,” says Vandome.
“If you are serious about macro photography then you should consider an SLR camera and a good quality macro lens.
“Zoom can be used for a range of photographic situations (buildings, landscapes, portraits) and it is always worth working with your camera’s zoom to see if it can improve the composition of an image.”
:: OTHER SETTINGS
“Sepia and black-and-white settings can create old fashioned and/or artistic effects but if you are using these, always take a regular shot first (similar effects can be applied in image-editing software),” advises Vandome.
“Other settings, such as night-time, simply apply settings that the camera thinks are best for certain situations.
“For instance, in night-time mode the camera will apply a slow shutter speed to ensure there is enough light in the shot (and the camera would need to be on a tripod).
“In general, the more you use your camera the more you will be able to apply your own settings for each different situation.”
Latest posts by Sally - Silversurfer's Editor (see all)
- All you need to know about the Radio Teleswitch Service (RTS) switch off - March 24, 2025
- Should the government take stronger measures to protect teenagers online through legislation? - March 23, 2025
- Easter Egg Chocolate Bark - March 22, 2025
- What to do if you suspect vine weevils in your plant pots - March 22, 2025
- Do you feel happy living in the United Kingdom? - March 20, 2025


